If you were planning on painting your house in the next few weeks, you might be completely worried and overwhelmed by the fact that autumn has arrived. This means that the temperatures are lower and there are more rainy days than usual, however, there are still ways that you can paint the exterior of your home.
Now, you might be wondering – how is it possible for me to do this, is the color going to dry well? To put it simply, it is possible, and yes it will dry properly with the help of the right strategy and technique. Let’s take a closer look at the 8 tips for adding coats of color to your house during cold weather:
1. First Things First – You Must Choose The Right Paint

If you opt for the standard varnish that you most commonly use when it is warmer outside, you’ll probably not be able to get very far with covering the walls of your house. This is why you must choose to purchase paint that is manufactured for lower temperatures, one that will do better and be more reliable than other options.
Hence, when looking at your options, different brands will have different temperature recommendations, which means that you’ll need to ensure that the temperature does not go below the minimum. After you opt for a specific brand, your next step will be choosing the color. Visit www.thecleverhomeowner.com and check some great advice which will help you in choosing the right color for your house.
2. The Color Needs to Be Right
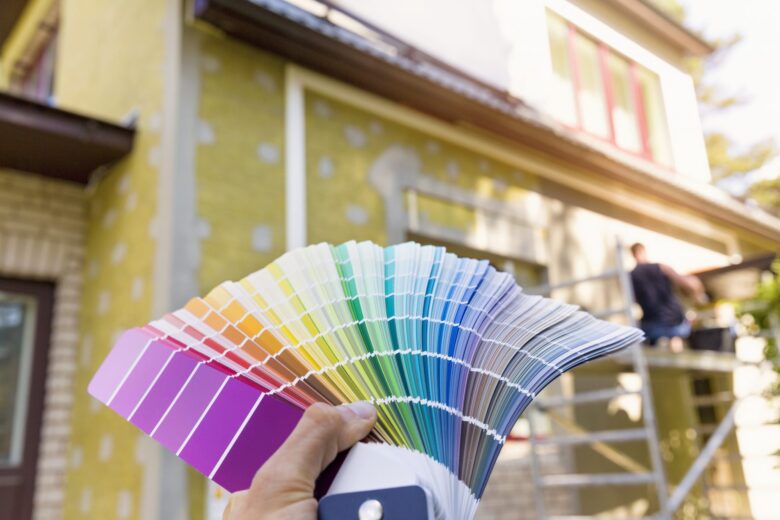
For some individuals, opting for the color is extremely easy, however, for others, it can be a complex process. In order to choose the right color, you’ll want to find inspiration on different websites and magazines, but, you must also consider the style of your house and the lighting.
Now, if you want to see how it looks like, you can always apply it on large pieces of cardboard and place it on the walls of your home. This will allow you to narrow down your options until you find something that goes well with the architecture of your home, as well as its other features.
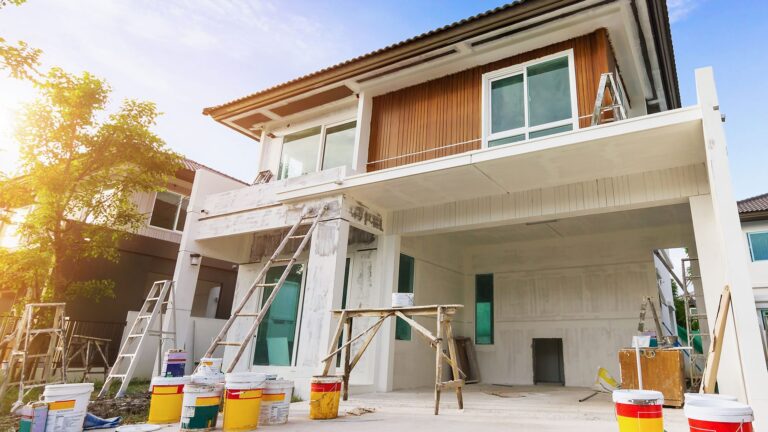
3. Prepare The Area

To make the entire process less time-consuming, daunting, and stressful, you’ll need to protect all of your outdoor furniture, windows, and doors. Hence, you should begin by moving the furniture to another location or covering it with drop sheets. If you fear that it might end up on the pathway around your house, you can use plastic canvas for protecting it.
You’ll need to wash all of the surfaces as well since it will allow it to stick properly, and if there are any holes in the walls, ensure that you fix them up as well before applying it. Now, if you feel like you cannot do all of these things by yourself, there are always professional companies such as SolidPainting.ca that’ll do it for you.
4. Applying it to Your Walls
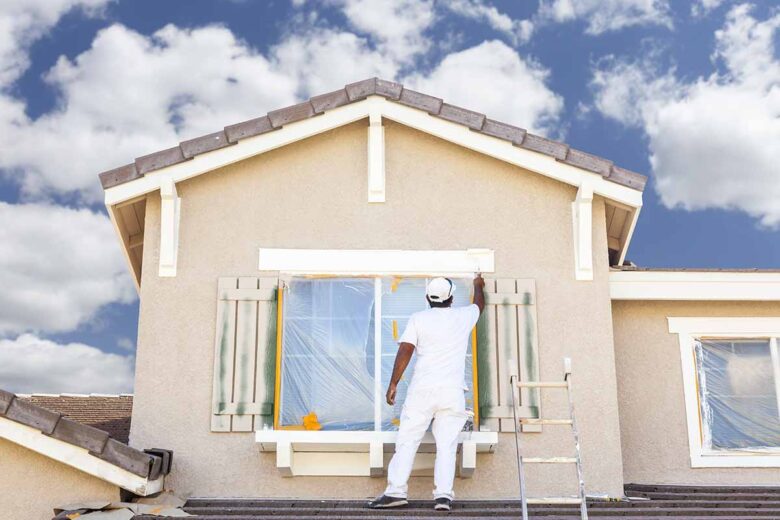
If you decided to carry on by yourself, your next step will be applying to apply the varnish to the walls. When it comes to the application process, you’ll want to start from the top and work your way to the bottom. Hence, if some color drops down on your walls, you can easily cover it. Next, complete the areas around your windows and doors.
Using a roller will help you with speeding up the entire process and it will work well with the varnish you purchased, however, you’ll need to utilize a brush around your windows and doors, as well as any other area that a roller cannot be used. So, ensure that you have both of the tools.
Since you’ll want to properly finish your project, take your roller and start from the top while making stokes similar to the letter “W”. This will allow you to cover the wall completely, without any visible lines and strokes. Ensure that you overlap the completed area with the new coat since it won’t produce any lines.
5. Allow it to Dry Properly
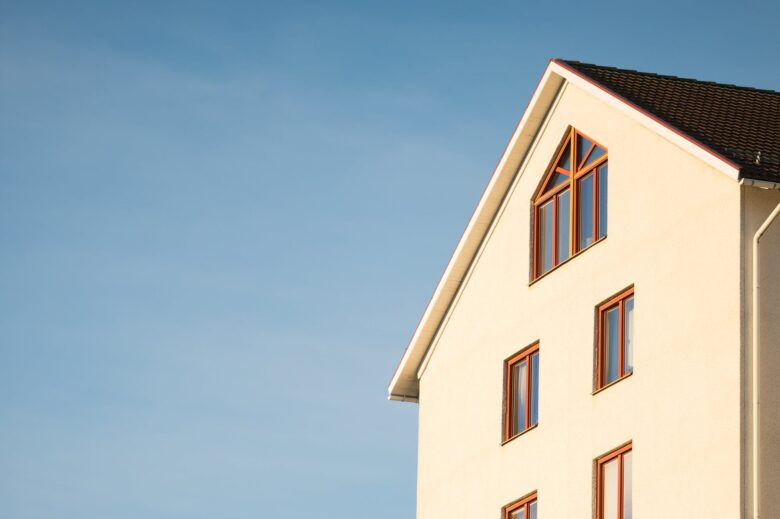
You should ensure that there are no rainy days for at least 3 or 4 days from when you are planning on painting your home. Once you are done with applying the first coat, you must wait at least a day before you apply the second one. All of this will ensure that there are no cracks, which is something you’ll definitely want to avoid.
6. You Should Work From The Mornings

In order for you not to lose any time, you should start the process in the morning. Besides finishing faster, you’ll also allow it to dry faster, hence, the morning is most suitable for your DIY project. Additionally, ensure that you follow the sun. This means that you’ll want to paint the wall where there is sunlight first, and then move on to the next one as the Sun moves as well.
7. How Much Cans Should You Buy?
Well, this is something that will depend on how large your walls are. So, in order to determine how much you’ll need, ensure that you measure the width and height of each wall, and then you can utilize an online calculator that will tell you how much you’ll need. Besides showing you the number of cans you’ll need, it will also show you how much it will cost.
8. You Could Use Previously Frozen Cans

If you have some leftover water-based paint, you might be able to utilize them, however, this is not always true. When you open the can, you might notice some lumps, which means that you won’t be able to mix it properly. If this is the case, you should not use it. On the other hand, if it can be mixed properly, you can choose to use it.
Conclusion
As you were able to read and learn, there is a wide range of tips and tricks that you’ll want to keep in mind when painting your home during colder weather. But, by keeping the tips mentioned above in mind, you’ll able to successfully and properly take care of your home’s exterior.
So, now that you are aware of the things you’ll need to remember, you should not waste any more of your time. Instead, you should start browsing online and brick-and-mortar businesses in order to find the equipment and tools you’ll need for applying a new paint layer to the exterior of your house.