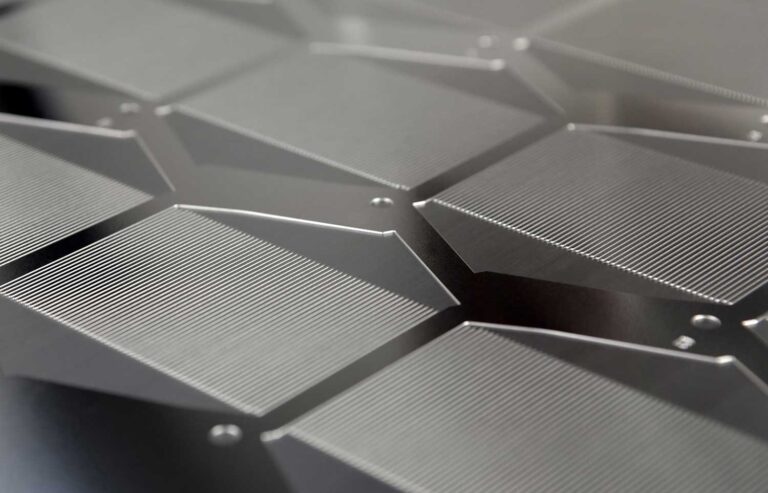
A lot of people think that etching aluminum is a difficult process to do at home, but the reality is that it’s not as hard as you might think. In this article, we’re going to show you how to etch aluminum at home using simple methods that are easy to follow.
What You’ll Need?

To etch aluminum, you’ll need a drill, a hand saw, some masking tape, and an aluminum sheet. You can find aluminum sheets at hardware stores or online. Before you start etching, make sure that the surface you’re working on is clean. You can clean it by using a vacuum cleaner or a wet cloth. You also can etch on aluminum tubes, aluminum sheet, or anything that made of aluminum at home.
To drill the hole in the aluminum sheet, use the drill to insert the bit into the chuck of your drill. Make sure that the bit is adjusted so that it’s just smaller than the width of the hole you want to make. Then, use the hand saw to cut the aluminum sheet into the desired shape. Make sure that you keep an eye on the blade so that it doesn’t cut into your fingers.
Next, tape the aluminum sheet to a workbench so that it’s in the same plane as your hole in the aluminum sheet. Then, use your hand saw to cut out the hole in the aluminum sheet. Make sure that you don’t cut too deep; if you do, you’ll have to start over from scratch. Once you’ve finished cutting out your hole, remove the tape from the workbench and your aluminum sheet.
Now, it’s time to etch your design into the aluminum sheet. To do this, use the drill to insert the bit into the chuck of your drill. Make sure that the bit is adjusted so that it’s just smaller than the width of your design. Then, use the hand saw to cut your design into the aluminum sheet. Again, make sure that you keep an eye on the blade so that it doesn’t cut into your fingers.
Once you’ve finished etching your design, remove the hand saw and tape from the workbench. Now, you can finish up by polishing the aluminum sheet if you want.
The Supplies You’ll Need
In order to etch aluminum at home you will need the following supplies:
- Aluminum oxide powder (available at most hardware stores).
- Xylene or lacquer thinner.
- A sharp knife or metal.
- Sandpaper (220 grit is recommended).
- Clean water and a bucket.
- Towels.
How to Etch Aluminum?
Are you looking for a way to etch aluminum at home? If so, there are a few things that you will need before getting started. Chemical etching aluminum is a very simple process that can be done with a few common items.
One of the most important things that you will need is an etching tool. There are a number of different types of etching tools out there, so it is important to find one that is specifically designed for aluminum. Other items that you will need include aluminum sheeting, aluminum oxide, and water.
To begin etching your aluminum, you will first need to wet the sheeting. Wetting the sheeting will help to create a better surface on which to work. After wetting the sheeting, place it on the etching tool and press down hard. You will then need to move the etching tool over the wetted area and start etching away. Be sure to use moderate pressure when etching so that the metal does not get too damaged.
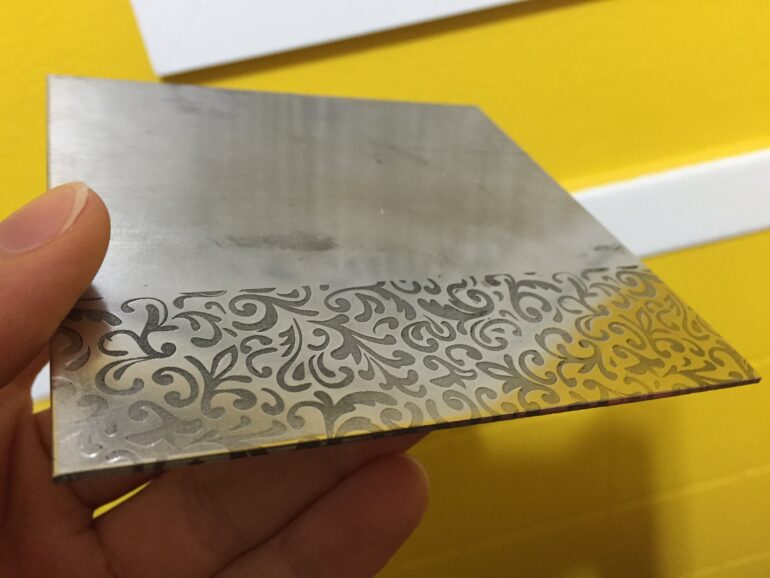
Once you have finished etching your desired pattern, rinse off the aluminum and dry it off. You can then finish up your project by powder coating or painting it as desired.
What is the Best Way to Etch Aluminum?
There is no definitive answer to this question, as the best way to etch aluminum depends on your specific needs and preferences. However, some tips on how to etch aluminum at home can be helpful.
For general purposes, a household acid such as citric acid can be used to etch aluminum. This method is simple and relatively easy to perform, but it does require some preparatory work. For example, you will need to dissolve the acid in water before using it, and you will also need to clean the aluminum correctly beforehand. Additionally, make sure that the aluminum you are using is of the correct thickness – too thin an aluminum slice will not produce a good result, while too thick a slice will also be difficult to work with.
Another approach is electrolysis. This method uses an electric current to strip away metal from an alloyed piece of metal – in this case, aluminum. Again, there is some preparatory work involved – for example, you will need electrodes and a power supply – but once everything is set up it is relatively simple to use. The main downside of this method is that it can be more time-consuming than other methods; however, if speed is not a key factor then electrolysis could be a good option.
Tips for Better Results
Etching aluminum can be a fun and rewarding activity. Follow these tips to get the best results:
- Use the correct etching acid. Different acids will produce different results, so it’s important to choose one that is specifically designed for aluminum.
- Apply a light coating of etching acid to the aluminum surface. This will help prevent any unwanted oxidation or flaking of the metal.
- Wait until the acid has completely dried before proceeding. If the acid is applied too thickly, it can cause damage to the metal.
- Use a sharp knife to scratch the desired design into the aluminum. Be sure to use gentle strokes and pay close attention to the angle at which you are scratching so that you don’t create too many holes in the metal.
- Once your design is complete, rinse off the acid with plenty of water and dry off the surface with a clean cloth or paper towel. The finished product should look like new!
Conclusion
If you’re looking to etch aluminum at home, there are a few things that you’ll need in order to get started. First, you’ll need an aluminum oxide powder (which can be found at most hardware stores), water, and a container to mix the powder with.
Second, you’ll need something to hold the aluminum oxide while it’s being etched (a piece of wood will work just fine). And finally, you’ll need some kind of etching tool (a knife will do the job). Once you have all of these items ready, it’s time to start etching!