Central air conditioning is only one type of conditioning system that 90% of US households use. Not only is this system more convenient for the family, but it’s also one of the most popular ones, currently, with also being very easily accessed.
This type of air conditioning makes it possible to turn it on with only a flip of a switch. If you ever wondered if this is something to add to your home, then don’t think twice as we’re going to tell you all about it, while also giving you instructions on how to install it.
What Is a Central AC and How Does It Work?
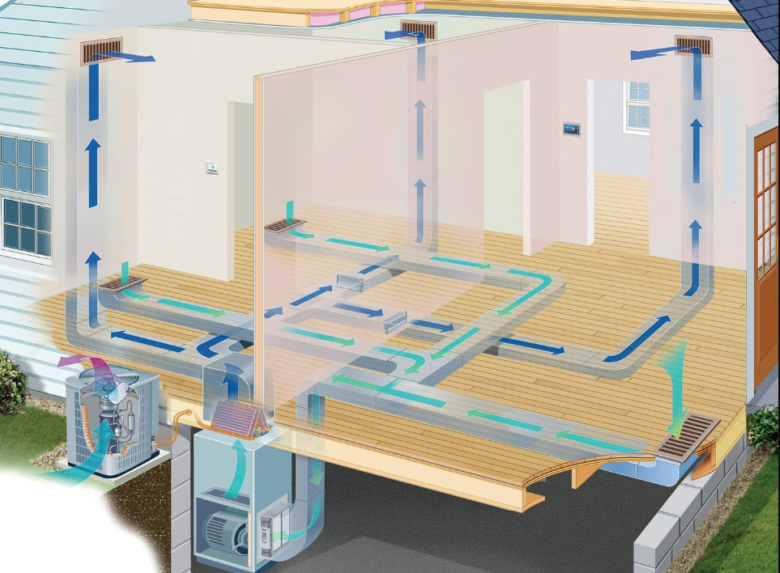
Central AC works by effectively pulling in air from the outside and mixing it with the inside and spreading it throughout your home. It makes this all possible through the ducting system, which effectively carries the air through the home.
When it comes to Central AC unit types, there are predominantly two; and those are the split-system and packaged type.
The former is more popular, as this is the one that is installed on the outside with the main cabinet remaining inside. The latter, however, has it’s cabined mostly positioned and placed on your roof or another external area of your home. The great thing about the latter system is that it also acts as a heating system if you add the needed components to do so.
Regardless of which type, the main component your home must have to accommodate a central AC unit is a ducting system. If your home doesn’t have one, then you have to make some changes and renovations, otherwise, it would be impossible to own a central AC unit.
How To DIY Install a Central AC Unit
First things first, before you install anything you have to purchase it from someplace. There are many vendors that sell such units, but you should do some research on the matter, and not settle for the first one you see.
When you purchase your unit, the next thing to do is to find a place where to install it.
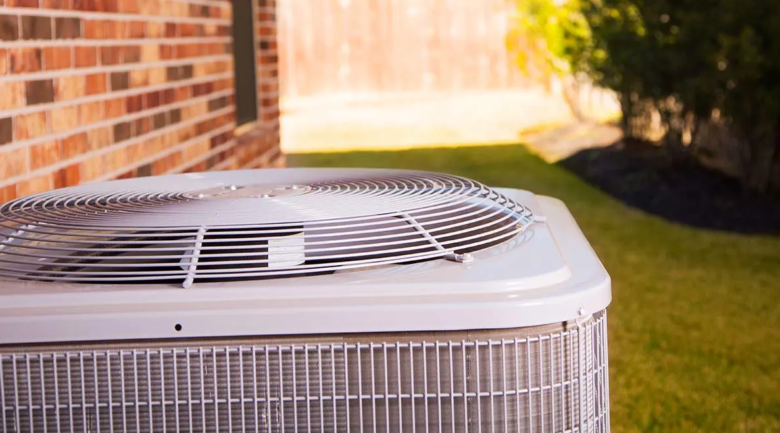
As a general rule of thumb, your AC unit should and must be installed somewhere outside, regardless of which type you settle for. Then, you need to connect it through the before-mentioned ducting system. So, naturally, you need to look for a place outside where you can place the whole system.
Be careful when doing so, as it is heavily advised to pour a concrete pad or place the unit on something solid such as concrete. If you don’t happen to have this option, you could always place it on your roof.
Furthermore, the outside area or roof needs to be easily accessed for maintenance, and it needs to have good airflow. Also, these units can be noisy, so it should be placed somewhere where it won’t be a nuisance.
Once you find your location, you need to think about connecting it to your ducting system. And we’ll get into that now.
Make Sure to Install the Right Way
Making sure that the ducting system is rightfully connected, sealed, and placed, will make sure that the entire installation process goes nice and smooth.
This will not only make sure that you’re energy-efficient, but it will also lower costs for heating. Making sure that there aren’t any leaks that will put you on a good path toward financial stability.
The entire system needs proper airflow. That’s why you need to make sure that the ducting system isn’t in no way shape or form bent.
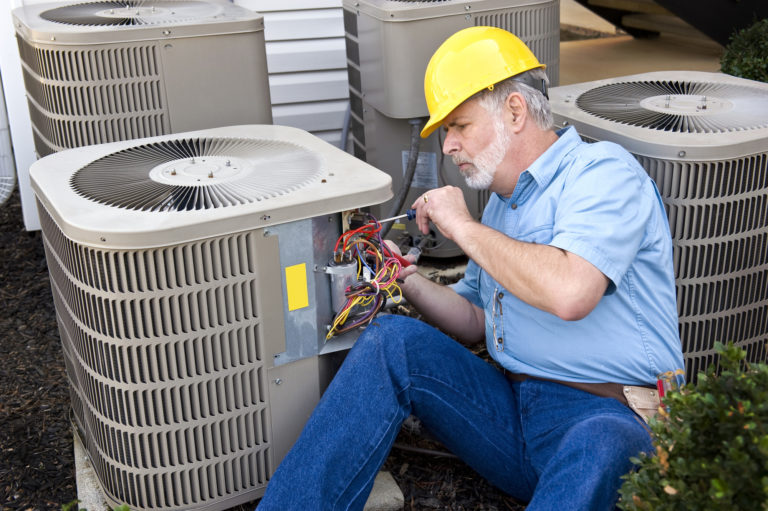
The only components where DIY-ing is out of the question, are servicing the entire system and removal of refrigerants. This isn’t the case only if you happened to be an expert servicer. But if you aren’t an expert and require professional servicing, then make sure to click here.
On the subject of refrigeration, your old AC unit does have some remaining refrigerants; which you can use for your new centralized unit.
However, unless you’re an expert, removing these components is very dangerous and very risky. So a general rule of thumb would be to call in experts that understand what needs to be done.
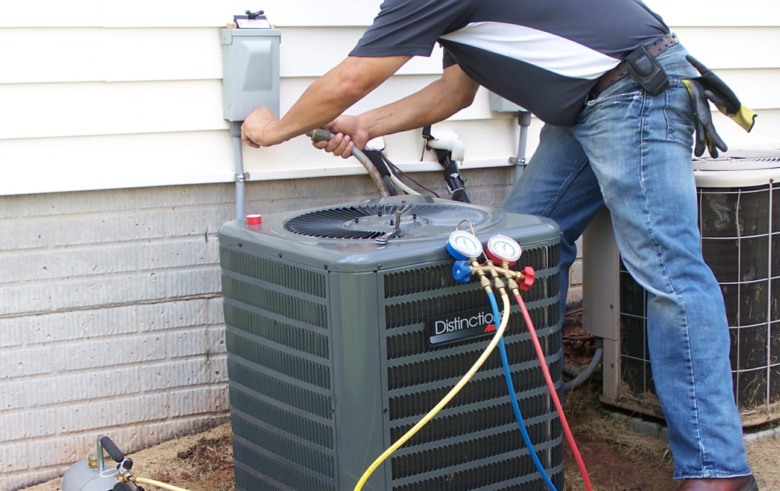
Connecting the Unit
Connecting involves positioning the unit and installing any indoor components required for the system to operate.
There are a couple of things to do in this situation. The most important one would be to configure the length of the refrigerant line. This is very important as ensuring the right length will eliminate any leaks of air.
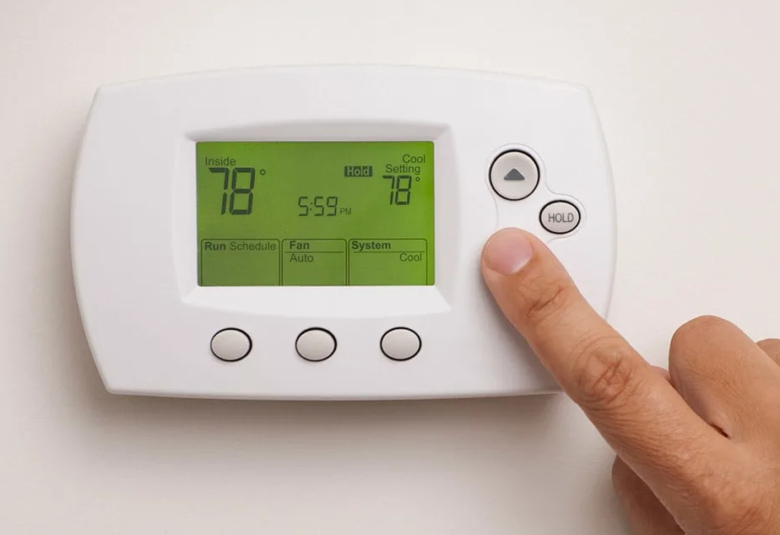
The thermostat is another, an indoor, component that also needs connecting. Along with the thermostat, the system will not operate if you don’t take care of the electrical stuff.
We briefly mentioned a very important component; the refrigerants. Well, when connecting them, you need to make sure that there aren’t any contaminants or debris located on the components themselves, or on the entire line.
Once you take care of the refrigerants, charge the unit and see whether things are running nice and smoothly. There are various tests to perform to make sure things are in order, or you can call experts to run those tests for you.
Once you make sure that everything runs in order, watch for the thermostat to give you a sign that the unit is properly working. The compressor can also be a good indicator of whether or not the unit works as intended.
But, as you can imagine, the entire setup and installation of a central AC unit are very DIY-unfriendly. While you definitely can, a higher understanding of such units and components are required. Furthermore, a good understanding of setting up electrics and manpower is needed to make sure everything is installed the way it should.
Also, it’s recommended that you seek professional help with the entire installation process, as chances are problems will occur.
And, lastly, the AC unit must be placed conveniently so that it can be maintained. You could run the maintenance yourself, but it’s advised against it.