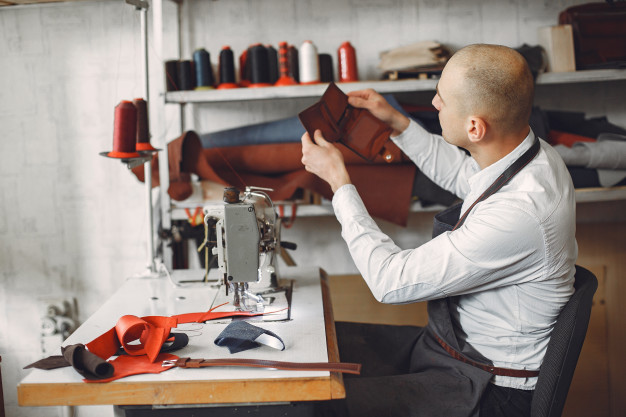
Prepare leather for sewing
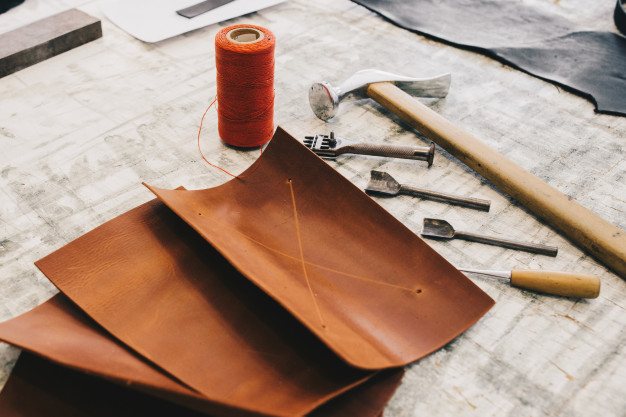
The items you will need:
- Leather groover – It allows to mark a clear sewing path on the leather’s grain side, which allows the stitches to sit a little down for a smooth finish.
- Stitching pacer – Damp the leather and allow it to dry before rolling the spacing wheel across it. It lets you know where to make holes or puncture in the leather. The use of a stitching pacer is better than using an awl to make holes.
- A diamond-hole chisel set or a Rotary leather punch are great options to make holes.
- Wooden or poly mallet
- Cutting board to punch
Compare the finishes
The finishes provide the leather a layer of protection but ensure that its initial feel and look are compromised as little as possible. There are varieties of finishes like –
- Acrylics – It creates a thin plastic layer across the leather as well as darkens the surface a little and makes it look shiny.
- Natural Patina – The buffing process is used to simulate natural patina developed over time. Rubbing the leather closes its pores making it less vulnerable to minor stains.
- Oil – Oil is absorbed inside the leather and darkens its surface significantly. It is also hard to apply it evenly across the surface without saturating. It is not an appealing finish.
- Natural wax – It sits on the leather surface like acrylics but is soft and thin. It looks more leathery rather than oily.
- Synthetic wax – It works like natural wax and the finish resembles matte.
Choose a finish that you find appealing the most. You can check Leather-hats.com to see the different leather hat designs and finishes offered. If you don’t desire to be adventurous in customizing your hat then Leather Hats is a great online store for buying exclusive headwear at affordable rates.
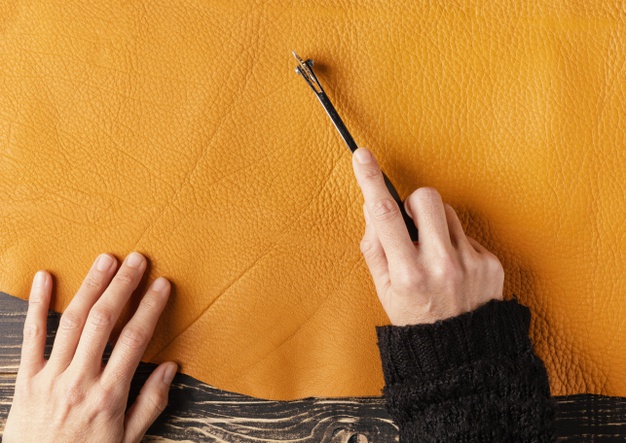
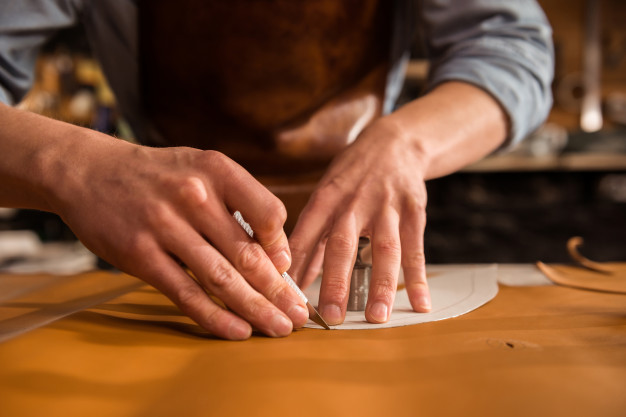
Cutting leather

Right tools are –
- Rotary cutter
- Cutting mate
- Sharp knife
- Heavy ruler
Scissors are not ideal to cut leather, especially the thick ones. Mark on the leather in advance or cut using pre-shaped patterns. You will need the top, crown, and brim to prepare a hat. Cut thin leather with a rotary cutter applying pressure on large areas. The grain side faces up as you cut against the pattern or pre-designed dye. If the leather is thick use a sharp knife to cut. Ensure that the pattern or marking you use is stationary every time.
How to dye?
Play around and with some trial and error, you will find what works.
Items needed –
- Preferred leather dye
- Favored leather conditioner
- Jojoba oil [no odd odor and is cheap]
- Vegetable-tanned leather
- Cloth scraps or Q-tips to apply the dye
- Leather sealer
- Paper towels
- Water
- Gloves
In terms of dyes, there are alcohol, water, and oil-based products to choose from. Do some testing to find, which you prefer. Some people find water-based dye comfortable to work with because you can clean it with water and soap if something goes wrong.
First prepare the leather – Groove, fold, bevel edges, and punch proper size holes according to the project. Do all the cutting and punching before you dye.
Oil the leather to hydrate it because water can interfere with the dyeing process. Rub the front with alcohol to eliminate any oily patches. Use the cloth to apply the oil and let it soak for some time.
Dilute the dye with its base. For example, if you use water-based dye then add water, and if it is oil-based use oil. Now, use a cloth to apply the dye on the flat surface. When you feel satisfied with color saturation allows the leather to air dry. After the dyed leather is completely dry, it is time to apply the leather conditioner. After conditioning, burnish the edges, or else the work will look awesome.
Making folds
Items needed are –
- Bone folder
- Ruler
- Clamps
- Paper towels
- Damp sponge
Hydrate the leather to make bends with ease. Use a damp sponge to wet the leather on both sides of fold lines. Fold carefully, so it looks right. Place a doubled paper towel over dampened edges and clamp.
Paper towels soak the excess moisture and there is no damage due to the clamps. Allow the leather to dry and after you remove the clamps, the leather needs to sustain the folded shape otherwise repeat the process. In case the leather is thick use a mallet to give a few smacks. The bone folder also helps to make nice folding creases.
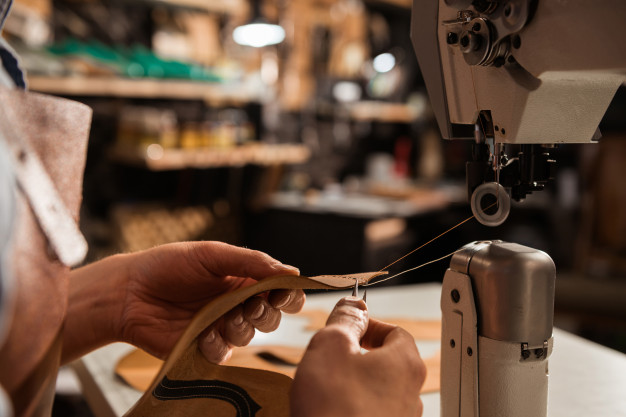
Saddle stitching with hands
- Sharp scissors
- Leather needles
- Waxed linen thread
- Prepared leather piece for stitching
Prep the leather for sewing and make some holes as defined above using stitching pacer, groover, or rotary leather punch. Thread two needles – one on both sides of the waxed thread and insert it in a hole near you. Ensure that the thread length is equal on both sides. Now, you have one needle in the right hand and another in the left. Start stitch with the same hand and insert the next needle likewise.
- Take the needle from the right hand and push it through the next hole. Pull the thread away.
- Take the needle from the left hand and thrust it through the same hole behind the right thread.
- Be consistent to place the 2nd needle behind the first thread to attain a good finish. Pulling away needles after every stitch keeps leather edges close and nice.
- For the finishing stitch after the last hole take 2 to 3 backstitches, just like in a sewing machine.
- Hold the thread tautly and cut it with the scissors and press tiny ends against the stitching.
Burnish leather edges
Leather edge burnishing makes the hat look amazing. Burnish means polishing rough edges. It is time-consuming but there are automated methods.
Items needed
- Gum tragacanth
- Slicker
- Jojoba oil
- Sandpaper with fine grit
- Paper towels
Burnishing seals the edges, so if you plan to dye, do it before this process. First, sand the edges evenly to ensure they are flush and look nice. The corners can soften a little. Apply the gum with a paper towel on the edge and let it rest there for a couple of minutes. The gum must not be too dry or too wet because you will not attain good friction using a slicker.
Rub the slicker against the edges up and down until the gum feels dry. Apply more gum and let it sit before using the slicker. For a mirror finish, burnishing can take more than half an hour. Sometimes, you don’t acquire good results after a couple of repetitions. It means the leather is absorbing all the gum, so apply little oil before applying the gum and keep rubbing.