
Perfect landscape photos grab the viewers by their eyes, unmasking for them the sheer beauty of nature. Landscape photography also enhances how you understand light and exposure quickly, so you know how to balance these aspects better in photography.
How do you take breathtaking landscape photos, and preserve your legacy though? Expert photographers believe that landscape photography is one of the most convenient and relatively easy to master.
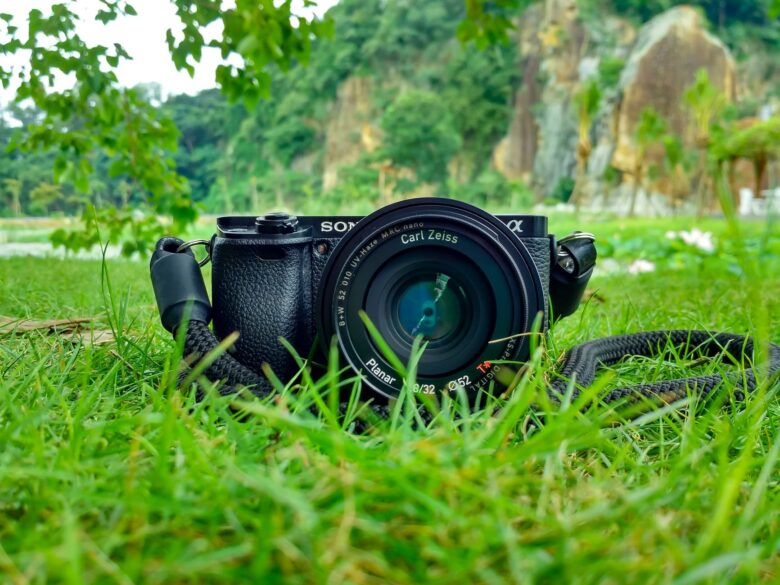
You will not need special gear to snap cute images, and landscapes are everywhere, so you will have all the time you need to learn landscape photography. However, it may not be a hands-down task for everyone.
You will also need a reliable backup option to preserve that legacy and in this case, cloud backup via a service like this one could be the most reliable option. If you’re struggling with getting the better shots, then this guide was made just for you. When you finish reading it, you will know the core configurations that you should master to enhance your skills and grab even more stunning images.
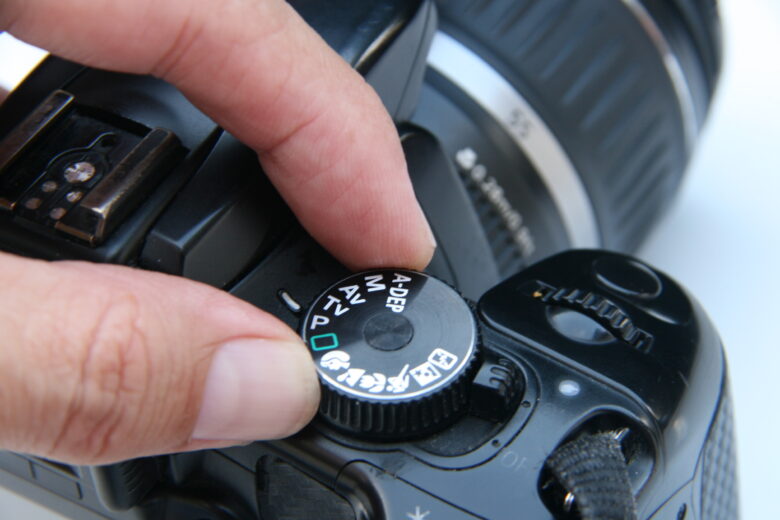
To begin, you should how your camera’s basic settings can impact each other. The settings that you should master in this case are ISO, Aperture, and Shutter Speed.
ISO
ISO refers to how your camera is sensitive to light. Usually, it is represented in values like 100, 200, 400, and others. It is the setting that will either darken or brighten your photos.
The more you increase the camera’s ISO number, the more your images will come out brighter progressively. This means that if you select a lower ISO, for example, 100-200, you reduce the camera’s sensitivity to the light around you.
It will, therefore, require more time to capture brighter images. On the contrary, if you select higher ISOs, for example, in 3200, you significantly increase the camera’s sensitivity to the light around you.
The camera will, therefore, require lesser time to expose target images correctly. In most cases, higher ISOs are recommendable if you’re capturing objects in motion.
Considering that landscapes are still, to get better images, the basic rule of thumb is to use the base ISO, which is usually 100-200 for most cameras.
Aperture
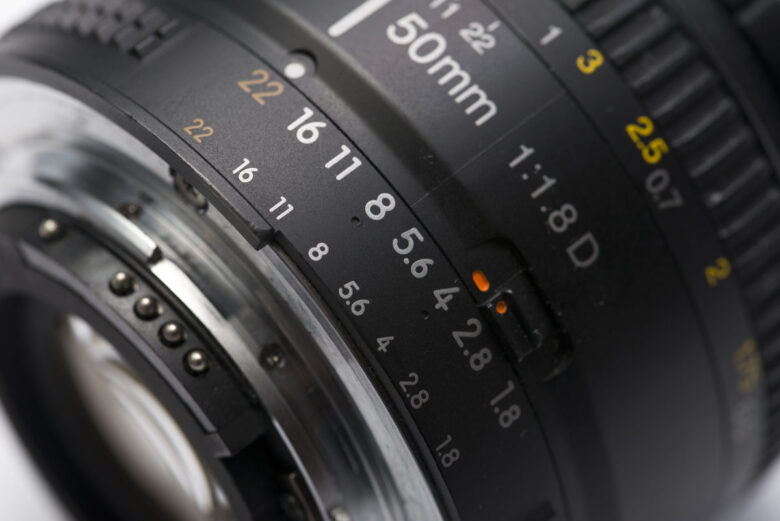
The simplest definition of an aperture is that it is an opening through a lens that allows light into the camera. It is usually referred to as f/stops.
Depending on your preferences, you can always expand or shrink your camera’s aperture to let more or less light hit the camera’s sensor. To broaden the aperture, you’ll use a low number, for example, f/2.8, and to shrink it, you will need a bigger number, for example, f/22.
Aperture also controls the depth of field. By impacting depth of field, the aperture can add specific dimensions to your pictures. Depending on the settings, if you widen the aperture, for example, only a small section of the image will be in focus but very bright.
It blurs the background but with a stunning shallow focus effect, which is recommended at night when you require more light. It can also alter the images’ exposure to make them darker or brighter and give you brighter images from further horizons to the closer foreground.
If you use a low f/stop, for example, f/22, which is a widened opening, the camera’s sensor will receive the right amount of light quickly, so it is easier to shorten the camera’s shutter speed and lower its ISO.
The Shutter Speed
Shutter speed can be described as a special barrier designed to ensure that light doesn’t reach the camera’s sensors when you’re not taking photos. When you press the ‘shutter release button’ on your camera, the shutter opens, allowing the camera to record images.
When the shutter closes, the camera will also stop recording the image. Shutter speed, therefore, is the duration that an image gets exposed to light. It varies considerably and can be milliseconds or minutes depending on the types of photos being recorded.
If you set the slow shutter speed, for example, just 1 second, the camera will capture blur movement and motion. If you use a quicker shutter speed, for instance, 1/500 seconds, you will freeze motion making it easy to get shots of subjects that are in fast motion without the images getting blurred.
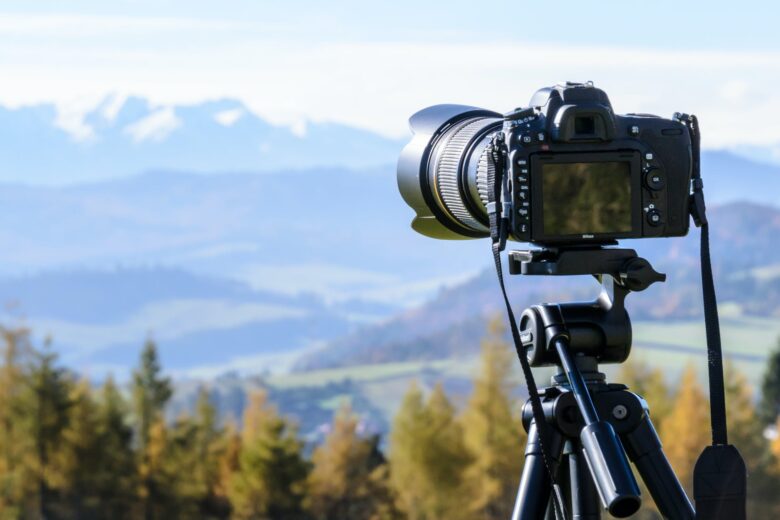
The primary difference between slow and quick shutter speeds is that with slow shutter speeds, you will require stable surfaces or a tripod to get clear images since the camera will also be recording movements when the shutter is open. With quicker shutter speeds, though, you won’t need stable surfaces since the shutter stays open for a brief period.
There are no recommended values for the correct shutter speed when it comes to landscape photography. The scenes will always influence the quality since shutter speeds will always vary depending on the locations.
How to Get the Best from These Basics
After mastering how these fundamentals work, you will also need to understand how they connect. This is because if you adjust any of them, for example, the aperture, you may also need to adjust either the ISO or shutter speed or adjust both of them.
Here’s a summary of a few tips to get you on the right track.
Configuring the Amount of Light Hitting your Camera’s Sensor
If you want to capture a clear view of an image, ensure that the sensors receive the right light amount. All the basics that we’ve discussed above; the aperture, ISO, and shutter speed all influence this.
You’ll need to control the aperture to let more or less light to the sensors, control the ISO to adjust light sensitivity, and ensure that the shutter speed is right to ensure that the sensor gets enough light exposure.
We acknowledged that it is not easy to adjust the settings to get perfect exposure and quality balance. When taking standard photography images, it is important that you keep the ISO and aperture settings fixed.
Stick to the lowest one that you can achieve and keep the aperture at f/7.1-f/13. The shutter speed has no technical quality influence on the image, but you may need to adjust it just a little bit. It is recommendable that you keep practicing as you’ll also discover that there are specific scenarios where higher ISOs will be necessary at the expense of some of the image’s quality to get perfect shots.
There are also isolated scenarios where you will need a higher depth of field, meaning that you will have to widen the aperture, use quicker shutter speeds, and lowest ISO when working in standard daylights.
The Bottom Line
There are special photography lenses you can use to take exceptional landscape images. If you wish to invest in these lenses, take time to read and understand the specific sensors they’re built for and the special features. You may also check reviews from past photographers to see what other people think about them.